Core drilling through tiles is one of those jobs that looks straightforward and then immediately punishes overconfidence. The first time you crack a large-format porcelain tile because you forgot to turn off the hammer action, or chip the glaze edge because you pushed too hard at the start, is the last time you make that mistake. But on a job where the tiles are already installed and you cannot replace an individual tile without matching the discontinued batch, that lesson is an expensive one to learn on site.
This guide covers the right bit type, correct RPM settings, and the specific techniques that prevent cracking and chipping in each main tile type: ceramic, porcelain, and natural stone.
Why Standard Masonry Core Bits Will Damage Tiles
A standard dry diamond core bit is designed to cut by abrasion at moderate speed through materials that can handle some heat and mechanical shock. Glazed ceramic and porcelain tiles are brittle, have a hardness surface layer (the glaze), and fracture under thermal shock. Running a masonry core bit at full speed through porcelain generates localised heat at the cutting edge that is absorbed into the tile — causing microscopic fractures that propagate into visible cracks as the tile cools.
The glaze on ceramic tiles is also a different hardness from the body of the tile. An uncontrolled start with a hard-bond bit will chip the glaze at the entry point before cutting cleanly into the tile body.
The Right Bit for Each Tile Type
Ceramic Wall and Floor Tiles
Standard ceramic tiles — the most common type in UK kitchens and bathrooms — have a glaze over a relatively soft bisque body. A diamond tile core bit (sometimes marketed as a "hole saw for tiles") with a continuous rim (no slots) is the correct choice. The continuous rim distributes the cutting pressure evenly and prevents chipping at the glaze interface. Water cooling is strongly recommended even for standard ceramics. Dry cutting is possible on single ceramic tiles with a slow speed, but any heat build-up causes discolouration or micro-cracking.
Porcelain Tiles
Porcelain is sintered at high temperature to create a body that is harder, denser, and more uniform than standard ceramic. It has very low water absorption and no meaningful difference in hardness between the surface and the body — the whole tile is the same material. This is why porcelain cuts more consistently than ceramic once you are through the entry phase, but also why it generates more heat during cutting.
For porcelain, use a diamond tile core bit rated for porcelain — these use a finer, more consistent diamond grit and a softer bond matrix to cut the harder material without the bond glazing. Water cooling is not optional for porcelain. Even a short dry cut in porcelain will ruin the bit edge. If you have no access to a water supply at the cut location, use the sponge method: saturate a dense sponge around the drill position to maintain a pool of water at the cutting face.
Large-Format Porcelain Slabs
Large-format porcelain slabs (600×600mm and above, and the increasingly common 1200×600mm format) are used in premium bathroom and kitchen installations. They are the most expensive tile type to damage. The larger format means more stress concentration around any hole, and the mass of the tile amplifies any vibration from the drilling operation.
For large-format porcelain, use a suction cup or adhesive drill guide to stabilise the bit position, keep RPM very low (around 300–400 RPM for a 107mm bit), and use continuous water cooling throughout. Never apply lateral pressure during cutting — the large tile body is relatively unsupported and lateral force causes propagating cracks from the hole edge to the tile edge.
Natural Stone — Marble, Granite, Travertine
Natural stone requires wet cutting without exception. Marble is relatively soft and will drill cleanly with a tile diamond bit and water cooling. Granite is extremely hard — much harder than standard porcelain — and requires a granite-rated wet core bit at low RPM. Travertine and other calcium carbonate stones drill similarly to marble but are often voidey (they have natural voids that can cause the bit to catch unexpectedly).
For granite, use the bit at 200–300 RPM for 100–107mm cores. Feed pressure should be very light — effectively just the weight of the drill. Any additional pressure on granite causes heat to spike rapidly and will destroy the cutting edge within seconds. The dry vs wet core drilling guide explains the bond matrix behaviour that makes wet cutting essential for these hard materials.
RPM Settings by Tile Type and Bit Size
| Tile Type | Bit Size | Recommended RPM | Cooling |
|---|---|---|---|
| Ceramic | Up to 75mm | 600–900 RPM | Water or sponge |
| Ceramic | 75–150mm | 300–500 RPM | Water |
| Porcelain | Up to 75mm | 400–600 RPM | Water (essential) |
| Porcelain | 75–150mm | 200–350 RPM | Water (essential) |
| Granite | Any | 200–300 RPM | Water (essential) |
| Marble / Travertine | Any | 300–500 RPM | Water |
Preventing Chipping at the Entry Point
The most common failure in tile drilling is chipping at the edge of the hole where the drill first makes contact. Three techniques prevent this:
- Start at zero speed: Lower the bit onto the tile surface before turning on the drill. Allow the first 1–2mm of the cut to establish a groove before increasing RPM. This is the opposite of masonry technique where you start at speed.
- Use a guide or template: A drill guide clamped or suction-cupped to the tile surface holds the bit in position during the critical first contact phase. This prevents the bit from skating across the glaze before it has cut a groove.
- Masking tape: Applying masking tape over the drill position helps the bit grip the glaze surface immediately rather than skating. Remove cleanly after drilling is complete.
Drilling Through Tiles into the Substrate
Most tile installations sit over a cement board, screed, or masonry substrate. Once through the tile layer, the substrate behind is typically much harder to drill than the tile — particularly with wall tiles bonded to dense block or concrete. The bit transitions from tile-cutting mode to masonry mode.
If you need to cut through tile and a significant depth of masonry behind it, the practical approach is:
- Cut through the tile layer with a tile diamond core bit and water cooling, to a depth of 10–15mm into the tile substrate.
- Switch to a dry masonry diamond core bit for the remaining depth of the masonry behind the tile.
- Keep water cooling for the first 20mm into the substrate even with a dry bit, to protect the tile edge from heat radiating back through the substrate.
For the masonry substrate section, see the brick wall core drilling guide and the diamond core drill bits selection guide for the correct bond hardness by substrate type.
Common Mistakes to Avoid
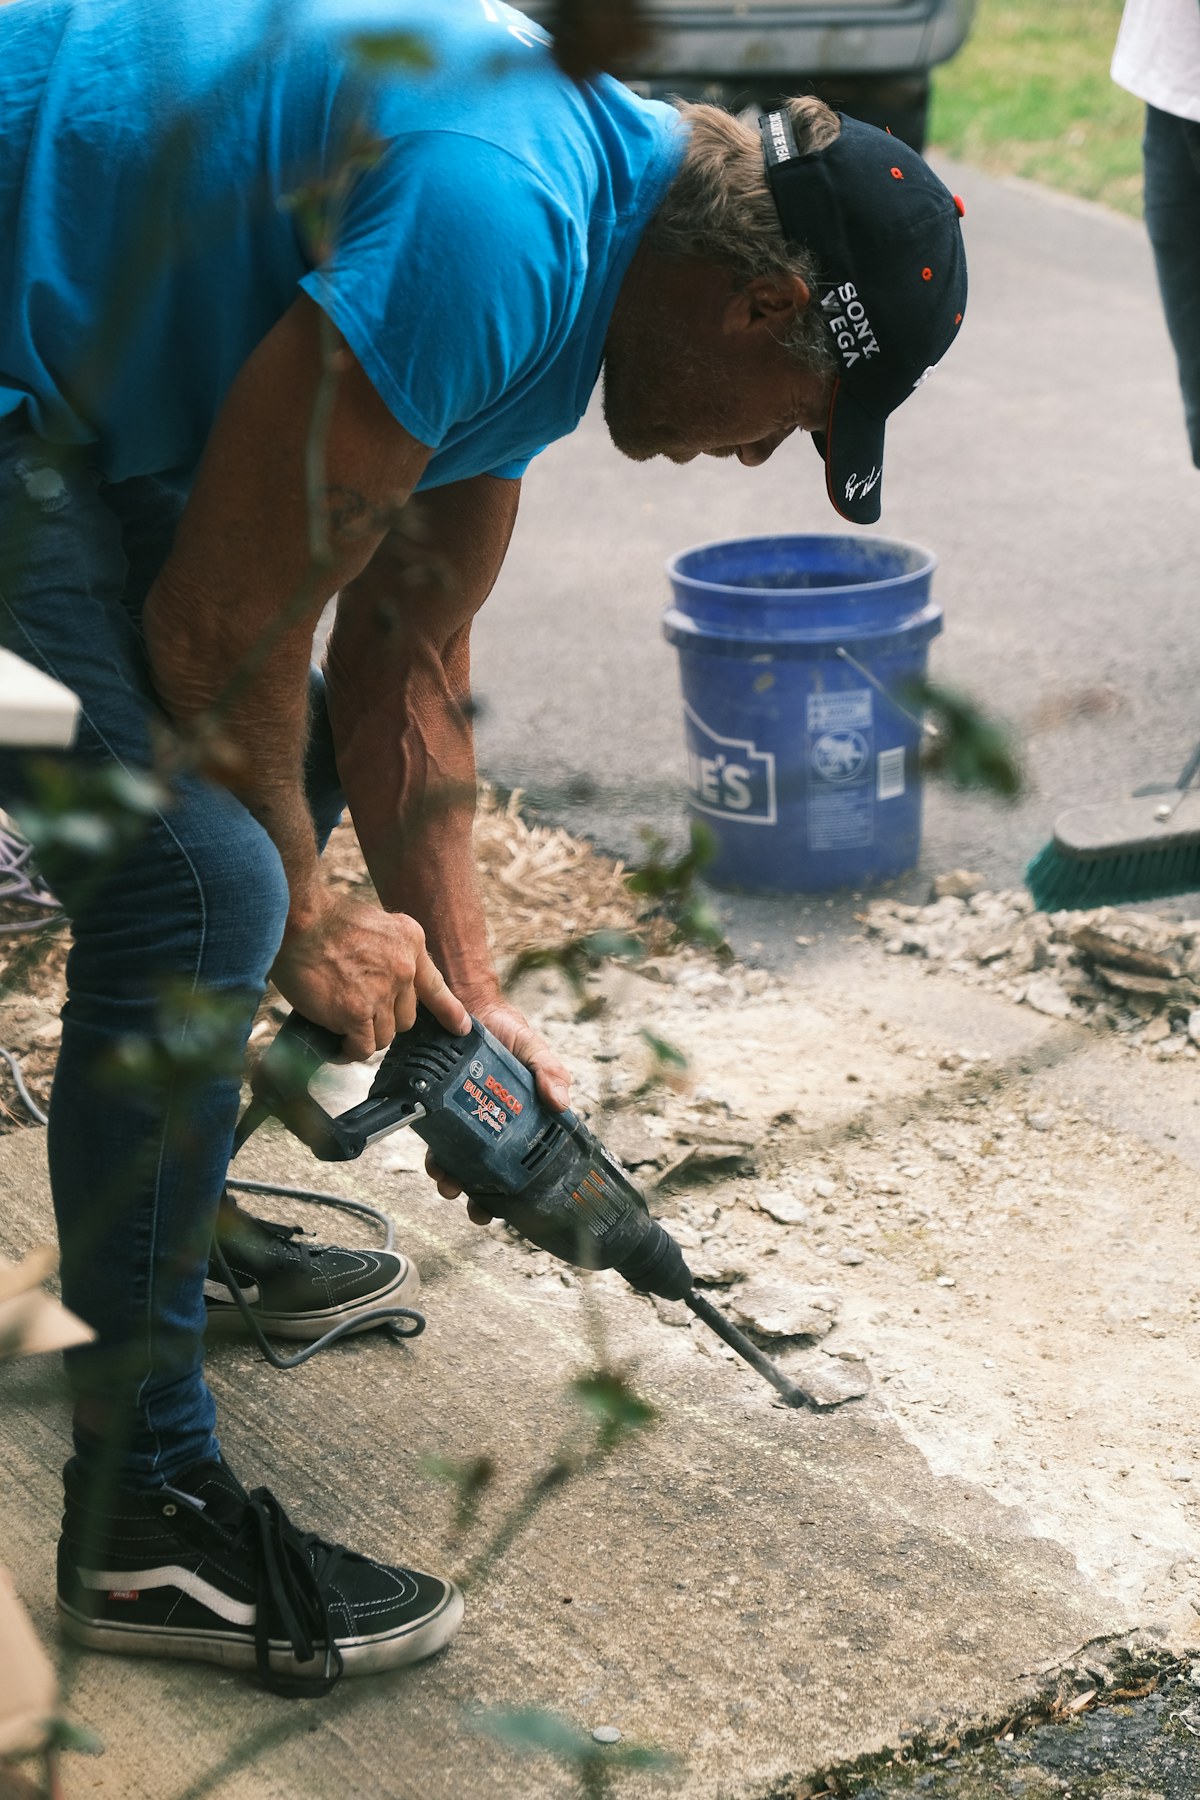
- Leaving hammer mode on: The single most common cause of cracked tiles. Always check the drill mode before starting.
- Pushing too hard too fast: Let the diamond cut — do not force it. Porcelain in particular cuts faster under light pressure than under heavy pressure because the heat generated under heavy load is what destroys both the bit and the tile.
- Cutting dry on porcelain: Even briefly. One 30-second dry cut on porcelain can render a tile bit unusable.
- Starting at full RPM: The glaze chips in the first second of contact if the bit is already at speed when it touches the tile surface.